Mise-en-scene
Mise-en-scene is the choice of costumes, scenery and props involved in a film. It also refers to the placement of props in front of the camera. The Mise-en-scene is an important part to any film as it makes the story more believable. Not only does this describe the placement of props etc, but it also describes the movement of the different characters. This all being controlled by the director.


In this shot the Mise-en-scene is mainly focused at the sandwich, we chose to have the sandwich in the middle of the shot. With Max as the actor just to the side. I do feel that in this shot we haven't used the full potential of Mise-en-scene as we could have added more props making the kitchen scene much more believable. A way in which we did try to make the scenery more believable was with the kitchen counter this meant that when Max was preparing the food, the viewer thought he was in that environment.
Lighting
Lighting is used to make certain things more visible, it can be used to enhance certain areas or objects. Its mainly used to highlight characters, the lighting may enhance a certain character so that the viewer mainly focuses on this point. The lighting is a major part of the visual effects, if too bright the depth of field can be lost and if to dark nothing can be seen in the shot. If both parts are balanced you have a shot that is in focus and detailed. In some cases the director may choose to make the shot bright, as this creates a good effect when filming POV.

The shot is of me eating the sandwich in the car, this shot is well lit. This meaning that the character isn't portrayed as being evil. As the shot is well lit, this helps to gain the focus on the character as he is such a short distance from the camera. Meaning that nothing is blurry, and the viewer is able to clearly see the prop that is being used in this shot. The brightness can also suggest surprise; as he has found the sandwich in the bag.
High or Low Camera Angles
High Camera Angles - A high camera angle is used to look down on something specific, this maybe used to make something look much smaller. Having the camera pointing down onto a character, makes the character look weak and powerless. In industry the high camera angle is often used as a POV for an adult character looking down to a child.
Low Camera Angle - A low camera angle is used to look up at something, the lowest point being called Worm View. The main reason for using this angle is to create empowerment, the camera looks up to an object or actor. The shot is often used in horrors to make the villain look more scary.

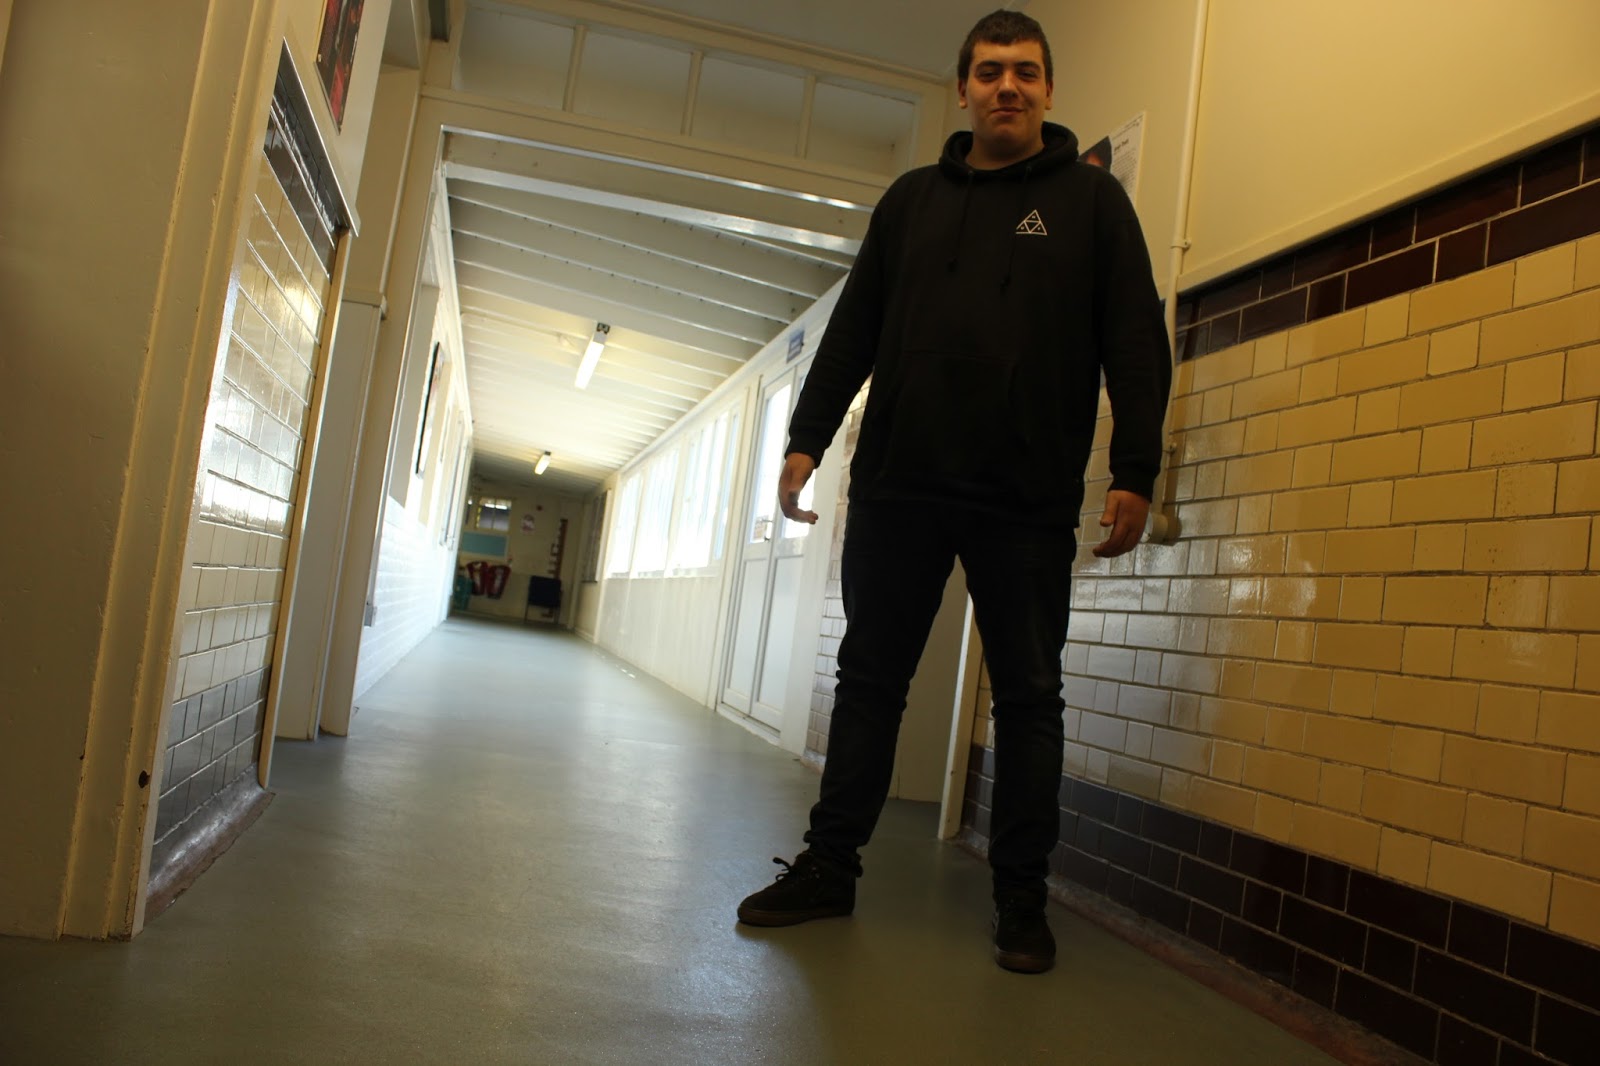
The image above shows the moment when Max's realizes that the bag is missing, we've filmed this shot at a high angle. We chose to do this so that the bag (that doesn't contain the sandwich) is made to look smaller, this showing that this prop isn't one of the main features. The high angle shot also meant that more was seen in the frame.
Different Shot Distances
Different distances mean that more or less can be in shot. By having a really Long Distance shot this means that a lot is caught in frame, this shot mainly being used to show the environment/scene that the character is placed in. Whereas by having a really shot shot, for example an Extreme Close up. Very little is caught in shot, this shot maybe used to show a characters emotions or it can sometimes be used on props such as a clock.

In this shot we chose to film at a long distance, as we wanted to catch the character walking past the camera for a long amount of time. By using the long distance shot nothing gained the main focus of the frame but instead meant that both characters were clearly shown. Furthermore by having more hang time this meant that the scene built up suspense, making the viewer more curious about what is going to happen next.

This shot is the complete opposite to the one above, this shot is an extreme close up. We chose to use this shot at the very start of our film as it created a serious atmosphere, making the viewer feel like the film was going to be intense. The extreme close up also helped to create a comedic effect, as the viewer was tricked into thinking the film was about action.
Camera Movement
Camera Movement is used to follow a certain object or character. These shots are often used in action films to make the viewer feel like they are actually in that situation. Camera Movement also helps the film to gain variation as not all are still, a clever way in which this technique is used is when filming POV. The camera is filmed at eye level, this making the shot seem much more natural and real. Camera Movement can move along any axis, the camera either sits on a track or a jib. This making the shot steady, it also helps the frame to flow much smoother.

We only chose to have one movement shot in our film, as it was much better to film with a stationary tripod. This was mainly to ensure that all of the shots were still and didn't shake. The shot is of Max chasing the bag after it had been stolen, we chose to make this shot a moving one as it was one of the most action packed sequences. The shot was also a match on action as max was chasing the car and the car was travelling at the same pace as him, as this meant that there was a variation between the first shot of the car chase and the second.
Fades or Dissolves
Fades and dissolves are the most commonly used transitions, both are used to show a time change. Many times the camera is pointed at something that tells the time and using a dissolve the time object has then change. The dissolve tool makes a very good blend and makes fast forwarding very easy in short films. Whereas fades are used in different situations, fades are often used to start a short film or in some case finish a film. In some cases fades can be used to change from location to location. Fades are very different to dissolves in that they can also be used to change the way that music is presented in a clip.

One example of a fade in our short film, took place when max was listening to music through his head phones. We wanted the music to start abruptly because that was when his headphones were actually plugged in. But when the shot cut to the next scene we didn't want the music to completely cut out, so we chose to use a fade when Max put the cling film over the top of the sandwich. By doing this there was a nice blend between going from music to no music. I feel that this turned out quite well, and I'm happy with the fade out for the music.
The Continuity System
180 Degree Rule - This rule stands for all films, it must be followed as when broken the shot looks incorrect. In most cases the camera starts at eye-line but can be used on a track along the floor. Then it moves round in a circular motion to another position this is when the 180 rule kicks in, it must then not pass 180 degrees. We kept to the rule just once when we filmed our short film, this point was when Max and I looked at each other and nodded. In most films this is when the 180 rule is kept into play, one character is interacting with the other.
Establishing Shots - This shot is used to situate the audience into the scenery that the film is going to be produced in. Not always is the establishing shot at the start of the film, this shot can be used at the start of a new frame to show the change of a new set/environment. We used one establishing shot in our film, this shot was when Max had just left the room. The camera was filming the door for a little while before any action took place, we did this to show that max was about to leave and enter a new area. I feel that this shot worked well, as it emphasized the fact that he was leaving with the bag in his hand.
Match Cuts On Action - This shot refers to when the editor uses a different camera angle to film something that has just happened, sometimes just to gain a closeup. Often used in action films as it means that you can use two quick shots, an example of this is if the camera is filming a person with a gun, the camera would then move in close to see him reload it. It's main function is to really highlight what the character is doing. A moment when we used this in the film, involved me throwing the bag into the car. This shot worked really well as it showed that I neatly placed the bag down onto the seat. Another reason we chose a match on action for this scene is because it reassured the viewer that my character had really stolen the bag.
Eye line Match Cuts - This shot works the best when filming an action or horror. The camera starts by looking at a specific character of whom is looking at something specific, the edit then cuts to a POV shot. This being called an Eye line Match, the second shot doesn't have to become a POV it can also be over the shoulder, as long as the camera follows the path of the characters eye line. In our film we unfortunately didn't create this cut as we ran out of clips to film with. A good point in which we could have created this, would have been when Max created the sandwich. This shot would have then shown Max's love for the sandwich.
POV shots - A Point Of View Shot is used in many different films, this shot is used to replace a characters eyeline. The camera becomes the characters eyes, its used to make the viewer feel like they're actually there, it can also make the filming much more intense. A good example of this is at the start of Halloween when the camera is filmed as if its the little boy, it makes the viewer feel like they are in control of the character. Not only is it used for Horrors but can also be used for action films, its a good way to show off scenery and it helps the viewer to gain an understanding of scale. Instead of using a character is our point of view focus, we chose to use the sandwich's view. In the scene Max simply puts a piece of cling film over the camera's lens. I feel that this clip works really well as it shows a sense of empowerment that Max has over the sandwich. Not only does it create an emotion, it gives a nice variation of clips into the film as POV is not used very often.
Shot Reverse Shot - Is used to go from one character to another, this shot works coherently with the 180 degree rule. As when filming two characters you mustn't change between there shoulders. The shot reverse shot is very frequently used to show off dialogue between two characters, its a smooth switch that doesn't make the film too confusing to understand. This shot was used just once in our film as we had to make a silent film so not dialogue was used at all. We did use the shot once and this was to show Max and I nodding our heads at each other. I feel that this shot worked really well as we kept to the rules and it made the audience feel like the two characters knew each other.

The shot is of me eating the sandwich in the car, this shot is well lit. This meaning that the character isn't portrayed as being evil. As the shot is well lit, this helps to gain the focus on the character as he is such a short distance from the camera. Meaning that nothing is blurry, and the viewer is able to clearly see the prop that is being used in this shot. The brightness can also suggest surprise; as he has found the sandwich in the bag.
High or Low Camera Angles
High Camera Angles - A high camera angle is used to look down on something specific, this maybe used to make something look much smaller. Having the camera pointing down onto a character, makes the character look weak and powerless. In industry the high camera angle is often used as a POV for an adult character looking down to a child.
Low Camera Angle - A low camera angle is used to look up at something, the lowest point being called Worm View. The main reason for using this angle is to create empowerment, the camera looks up to an object or actor. The shot is often used in horrors to make the villain look more scary.

The image above shows the moment when Max's realizes that the bag is missing, we've filmed this shot at a high angle. We chose to do this so that the bag (that doesn't contain the sandwich) is made to look smaller, this showing that this prop isn't one of the main features. The high angle shot also meant that more was seen in the frame.
Different Shot Distances
Different distances mean that more or less can be in shot. By having a really Long Distance shot this means that a lot is caught in frame, this shot mainly being used to show the environment/scene that the character is placed in. Whereas by having a really shot shot, for example an Extreme Close up. Very little is caught in shot, this shot maybe used to show a characters emotions or it can sometimes be used on props such as a clock.

In this shot we chose to film at a long distance, as we wanted to catch the character walking past the camera for a long amount of time. By using the long distance shot nothing gained the main focus of the frame but instead meant that both characters were clearly shown. Furthermore by having more hang time this meant that the scene built up suspense, making the viewer more curious about what is going to happen next.

This shot is the complete opposite to the one above, this shot is an extreme close up. We chose to use this shot at the very start of our film as it created a serious atmosphere, making the viewer feel like the film was going to be intense. The extreme close up also helped to create a comedic effect, as the viewer was tricked into thinking the film was about action.
Camera Movement
Camera Movement is used to follow a certain object or character. These shots are often used in action films to make the viewer feel like they are actually in that situation. Camera Movement also helps the film to gain variation as not all are still, a clever way in which this technique is used is when filming POV. The camera is filmed at eye level, this making the shot seem much more natural and real. Camera Movement can move along any axis, the camera either sits on a track or a jib. This making the shot steady, it also helps the frame to flow much smoother.

We only chose to have one movement shot in our film, as it was much better to film with a stationary tripod. This was mainly to ensure that all of the shots were still and didn't shake. The shot is of Max chasing the bag after it had been stolen, we chose to make this shot a moving one as it was one of the most action packed sequences. The shot was also a match on action as max was chasing the car and the car was travelling at the same pace as him, as this meant that there was a variation between the first shot of the car chase and the second.
Fades or Dissolves
Fades and dissolves are the most commonly used transitions, both are used to show a time change. Many times the camera is pointed at something that tells the time and using a dissolve the time object has then change. The dissolve tool makes a very good blend and makes fast forwarding very easy in short films. Whereas fades are used in different situations, fades are often used to start a short film or in some case finish a film. In some cases fades can be used to change from location to location. Fades are very different to dissolves in that they can also be used to change the way that music is presented in a clip.

One example of a fade in our short film, took place when max was listening to music through his head phones. We wanted the music to start abruptly because that was when his headphones were actually plugged in. But when the shot cut to the next scene we didn't want the music to completely cut out, so we chose to use a fade when Max put the cling film over the top of the sandwich. By doing this there was a nice blend between going from music to no music. I feel that this turned out quite well, and I'm happy with the fade out for the music.
The Continuity System
180 Degree Rule - This rule stands for all films, it must be followed as when broken the shot looks incorrect. In most cases the camera starts at eye-line but can be used on a track along the floor. Then it moves round in a circular motion to another position this is when the 180 rule kicks in, it must then not pass 180 degrees. We kept to the rule just once when we filmed our short film, this point was when Max and I looked at each other and nodded. In most films this is when the 180 rule is kept into play, one character is interacting with the other.
Establishing Shots - This shot is used to situate the audience into the scenery that the film is going to be produced in. Not always is the establishing shot at the start of the film, this shot can be used at the start of a new frame to show the change of a new set/environment. We used one establishing shot in our film, this shot was when Max had just left the room. The camera was filming the door for a little while before any action took place, we did this to show that max was about to leave and enter a new area. I feel that this shot worked well, as it emphasized the fact that he was leaving with the bag in his hand.
Match Cuts On Action - This shot refers to when the editor uses a different camera angle to film something that has just happened, sometimes just to gain a closeup. Often used in action films as it means that you can use two quick shots, an example of this is if the camera is filming a person with a gun, the camera would then move in close to see him reload it. It's main function is to really highlight what the character is doing. A moment when we used this in the film, involved me throwing the bag into the car. This shot worked really well as it showed that I neatly placed the bag down onto the seat. Another reason we chose a match on action for this scene is because it reassured the viewer that my character had really stolen the bag.
Eye line Match Cuts - This shot works the best when filming an action or horror. The camera starts by looking at a specific character of whom is looking at something specific, the edit then cuts to a POV shot. This being called an Eye line Match, the second shot doesn't have to become a POV it can also be over the shoulder, as long as the camera follows the path of the characters eye line. In our film we unfortunately didn't create this cut as we ran out of clips to film with. A good point in which we could have created this, would have been when Max created the sandwich. This shot would have then shown Max's love for the sandwich.
POV shots - A Point Of View Shot is used in many different films, this shot is used to replace a characters eyeline. The camera becomes the characters eyes, its used to make the viewer feel like they're actually there, it can also make the filming much more intense. A good example of this is at the start of Halloween when the camera is filmed as if its the little boy, it makes the viewer feel like they are in control of the character. Not only is it used for Horrors but can also be used for action films, its a good way to show off scenery and it helps the viewer to gain an understanding of scale. Instead of using a character is our point of view focus, we chose to use the sandwich's view. In the scene Max simply puts a piece of cling film over the camera's lens. I feel that this clip works really well as it shows a sense of empowerment that Max has over the sandwich. Not only does it create an emotion, it gives a nice variation of clips into the film as POV is not used very often.
Shot Reverse Shot - Is used to go from one character to another, this shot works coherently with the 180 degree rule. As when filming two characters you mustn't change between there shoulders. The shot reverse shot is very frequently used to show off dialogue between two characters, its a smooth switch that doesn't make the film too confusing to understand. This shot was used just once in our film as we had to make a silent film so not dialogue was used at all. We did use the shot once and this was to show Max and I nodding our heads at each other. I feel that this shot worked really well as we kept to the rules and it made the audience feel like the two characters knew each other.